A few people have expressed at least mild interest in the process of making pots, so I've put together a few photos. I'm leaving out lots of intermediate steps, which I may fill in later on if anyone really wants them. In the meanwhile, here's part of what it takes to throw a recessed lid for a teapot.
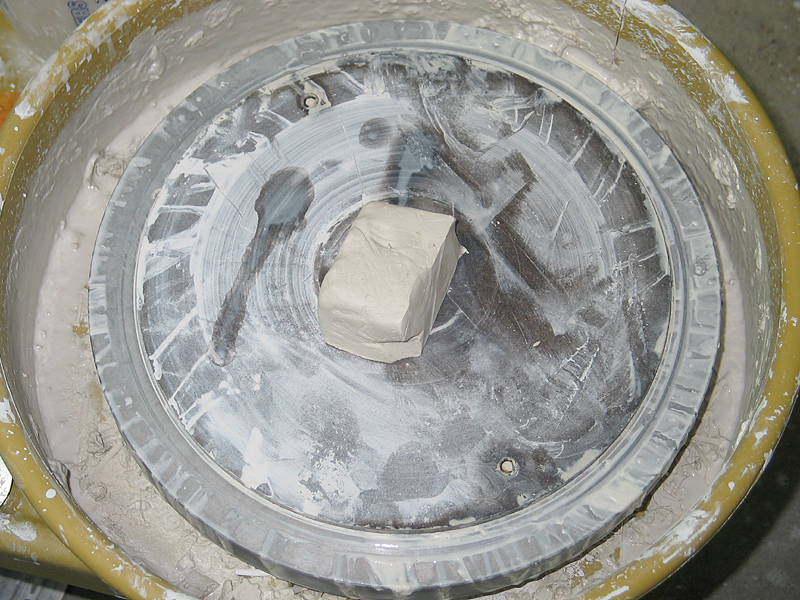
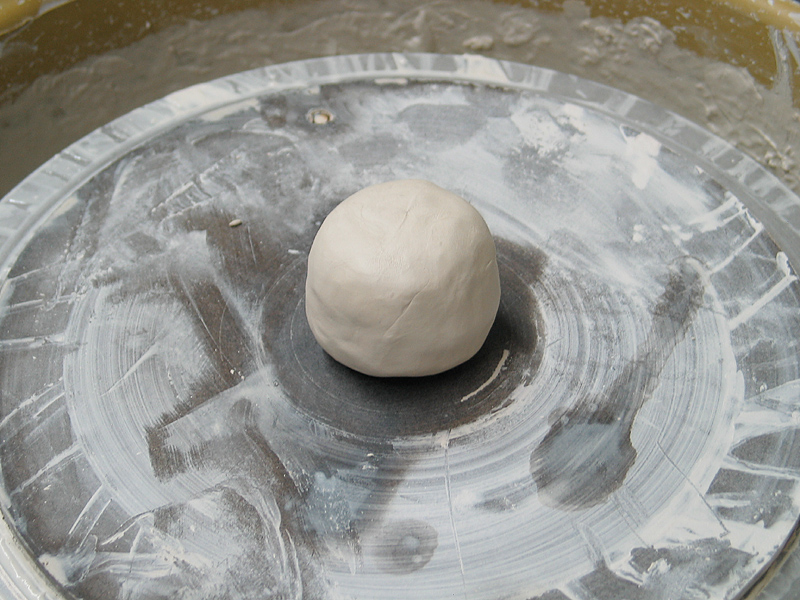
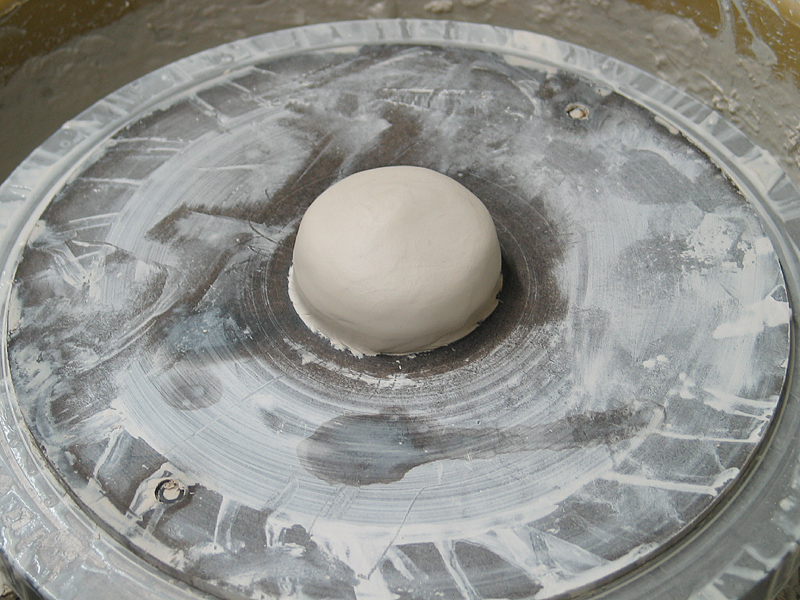
First things first: mud. Here's a piece of clay, cut from a larger chunk with a twisted wire. In the second photo, I've mixed it up in a process loosely called "wedging", and shaped it into a generally rounded blob. In the third photo I've gotten it stuck on the batt, and patted it down into a slightly convex round shape that is as close to the middle as I can get it. There's no sense making extra work for yourself in this process, so you might as well get the stuff as nearly centered as you can before you start getting it wet.
Next, centering. Centering looks very easy when it is being done by someone who knows how to do it, and in fact it is easy, especially on small pieces of clay, and especially once you get the hang of it. What's not so easy is getting the hang of it. Took me a lot of practice and a few helpful hints from people who are very good, like Pat Colyar and Larry Bruning. (Pat was my teacher at Seward Park Art Studio, in Seattle. Larry is a production potter in Seattle who has thrown over half a million pots (!). I have seen Larry center 18 lbs of clay in ten to fifteen seconds, with no wasted effort.)
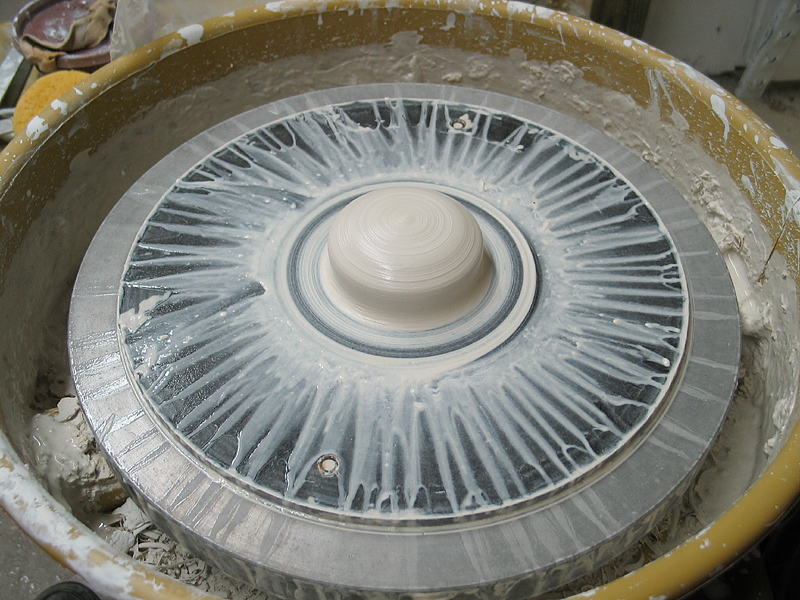
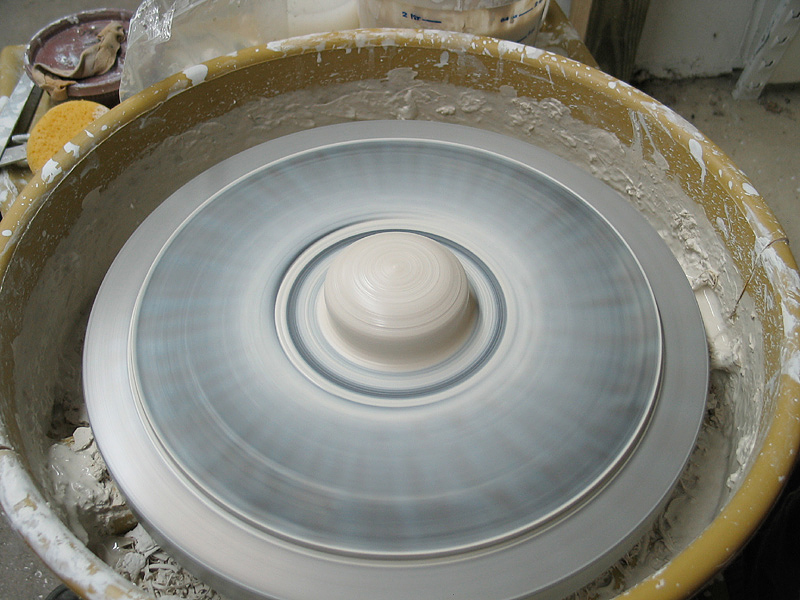
You'll notice that the clay looks about the same regardless
of whether the wheel is stopped or rotating. This is the
most obvious way you can tell that it is, indeed, centered.
One of the things they don't necessarily tell you in the
early stages of teaching you to throw is that every
move you make with the clay should be at least partly a
centering move. That's a slight exaggeration -- there
are things you do that shouldn't be centering moves, ...just
not very many of them.
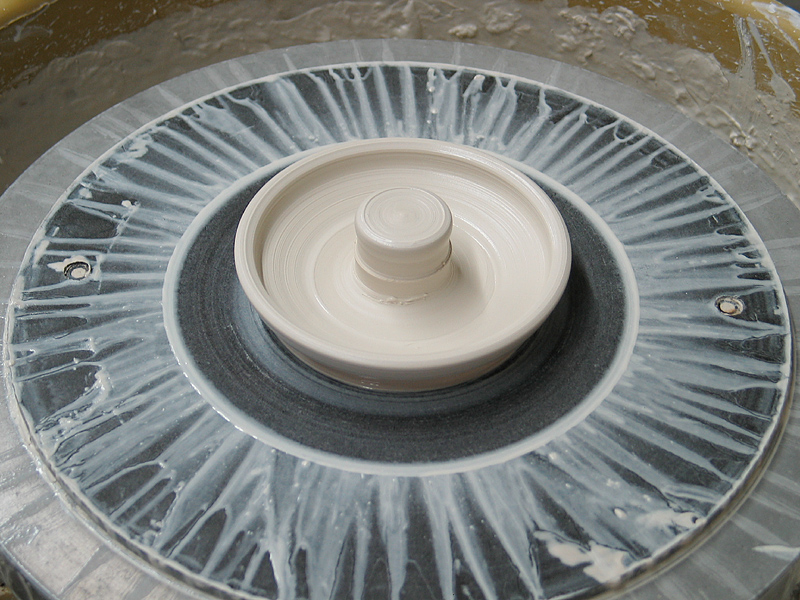
Ordinarily, once you have the clay centered you push into the middle of it, either with your thumb or with your fingers. I have never been able to put my thumb out and down that far, so I use fingertips. (I cannot even understand how anyone can do that with their thumb, but lots of people manage it, somehow.) In this case, however, I wanted to have a knob in the middle of the lid, so I pushed down into the clay a little over half an inch out from the middle. That left a column of clay in the center, from which I later made the knob.
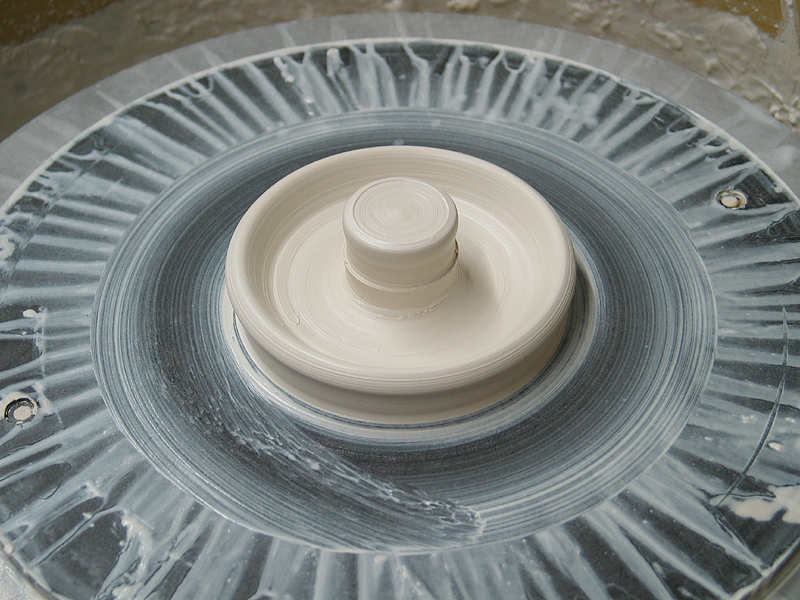
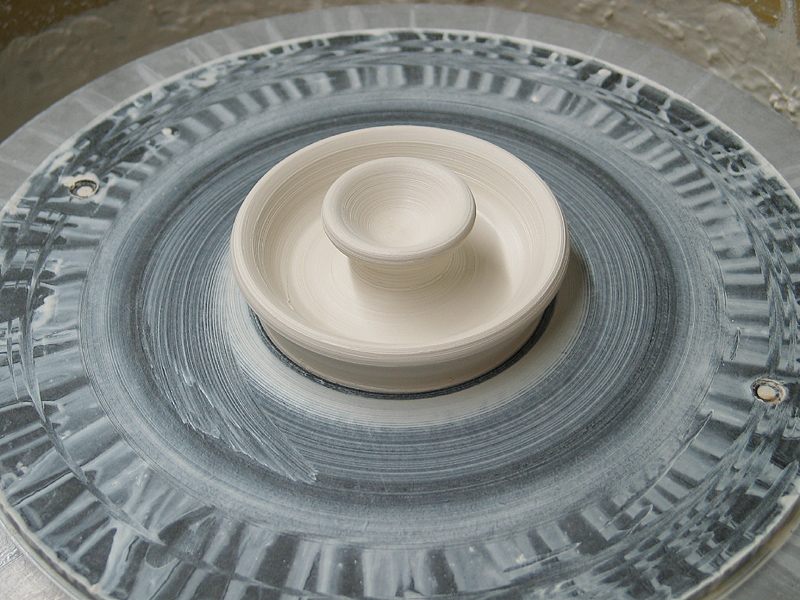
In the first photo here I've pulled the lid out too far, and it's considerably wider than the hole at the top of the pot. (I measured the hole with a pair of calipers, not shown here.) In the second photo, though it isn't necessarily easy to see, I've pushed the clay back in to make the lid narrower. This is generally frowned upon -- it's much better not to pull it out too far in the first place. In the third photo I've adjusted it a little, and I've shaped the knob and its stem. Later, when it has hardened somewhat, I'll trim it until it is a nice precise fit into the top of the teapot. I don't like teapot lids that slide around when you tilt the pot to pour the tea. For one thing, it increases the risk of the lid falling out. For another, it smacks of lousy craftsmanship. (It's okay if you've never made a galleried lid before and you haven't quite gotten the hang of it yet, but not, at least as far as I'm concerned, if you're selling your pots to real people for real money.)
If anybody really wants, I'll try to get photos that show the positions of my hands while I do these things. Most people will have to think in mirror images, though, because I'm very left-handed, and I work with the wheel rotating clockwise. (I don't wanna hear any crap about how lefties should throw with the wheel rotating CCW, either -- that's abusive. EVERYBODY who is learning to throw should try BOTH ways, and stick with whichever one works better. It's also a good idea to try the opposite direction once in a while, just in case you were wrong the first time. I can, btw, throw right-handed. I'm not very good at it, and I don't like it. I do, however, practice it from time to time, in case I need to demo for someone who can't do the mirror-image thing in their head.)
That's all I've got for right now. I tried to take some
photos of a more usual piece, the body of a teapot, but
the camera refused to focus correctly for some reason,
and none of them was any good. Argh.
For contact information, please see the index.
Last modified: Sat Feb 9 00:18:51 EST 2013