(02 September, 2006)
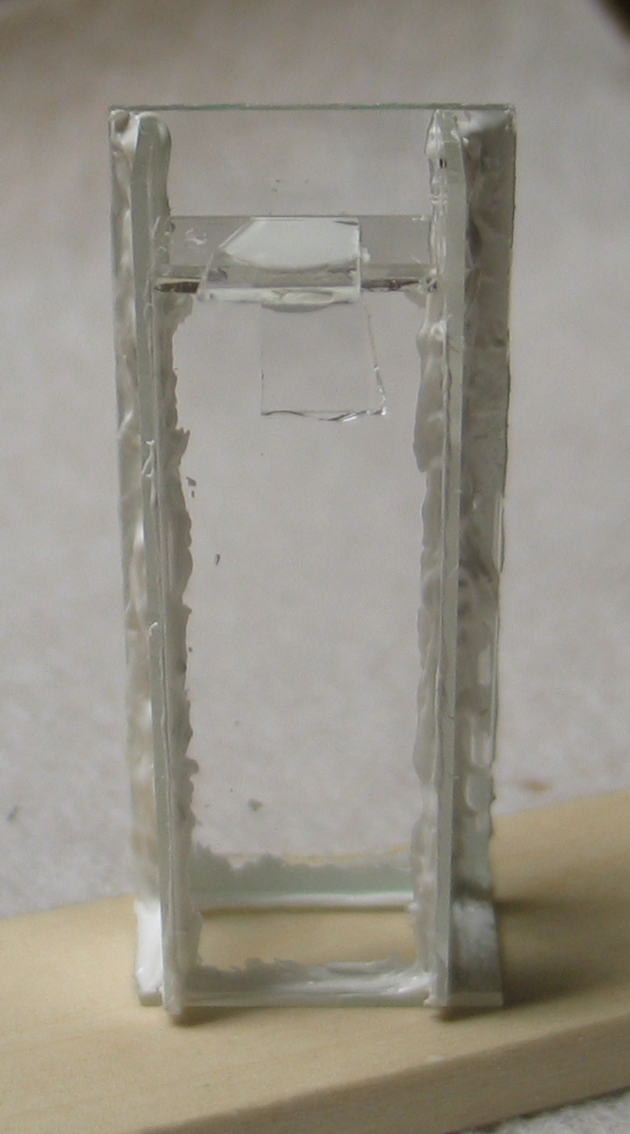
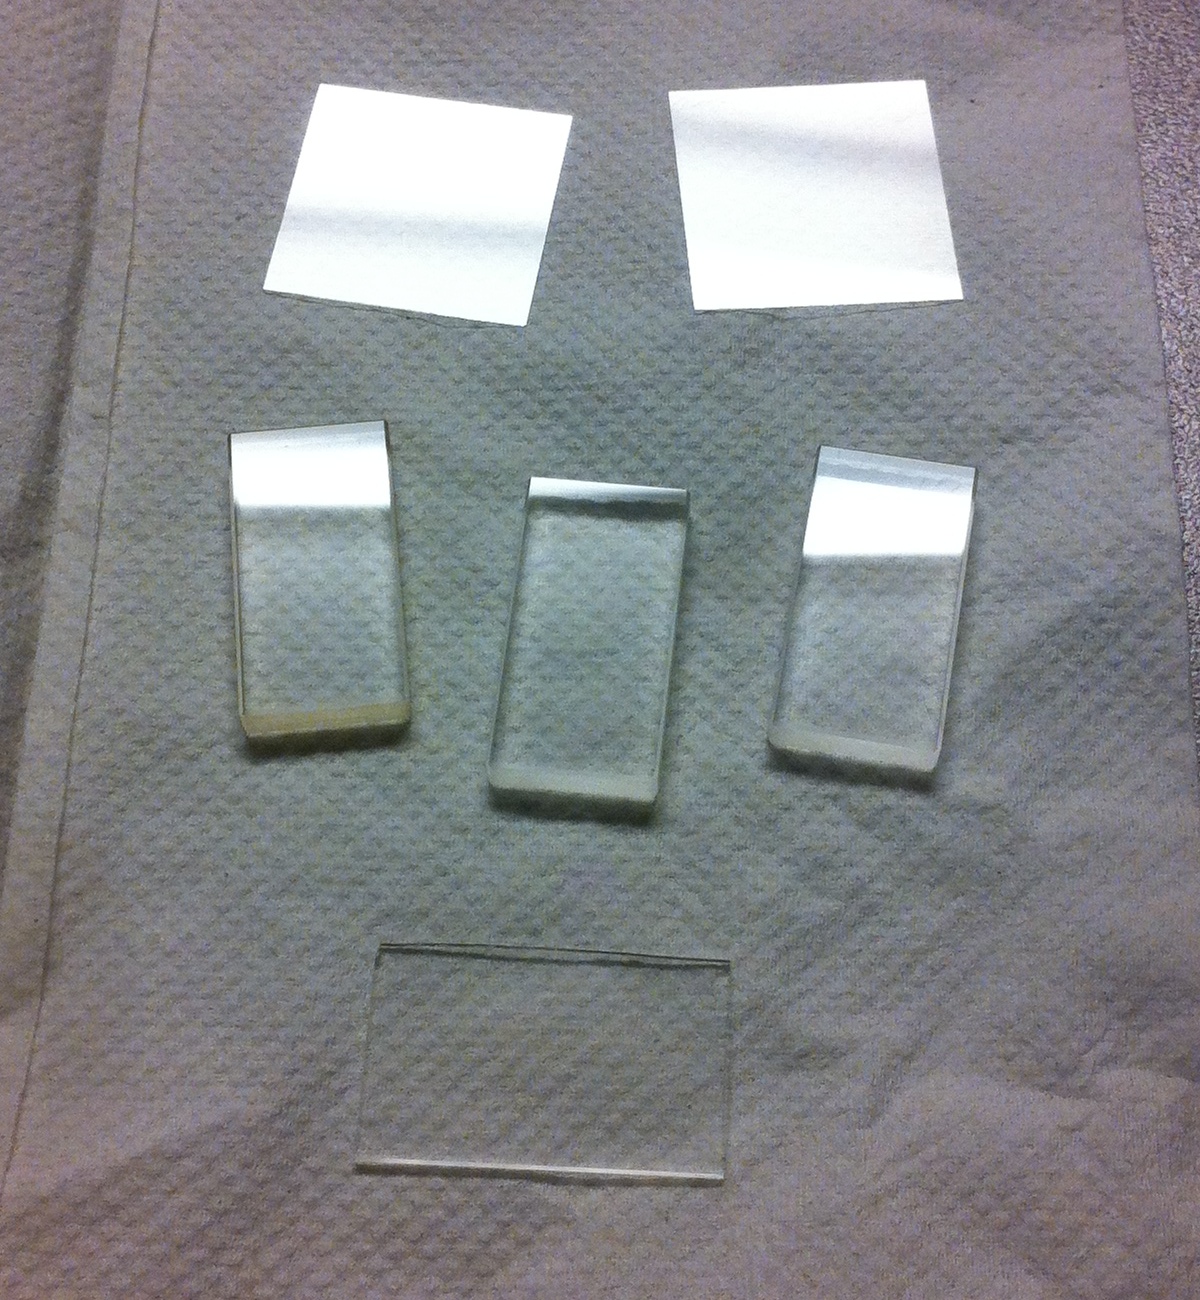
The cuvette shown above (click the image if you want an enlargement) was constructed from a fused silica Brewster-angle window obtained surplus on eBay, two microscope slides (one of which was slightly special; see the text), and a small amount of silicone caulk. The size of the cuvette was largely determined by the size of the Brewster window. I might have been able to cut it down, but fused silica is not cheap, and I was reluctant to risk breaking it.
I should note that I used a poor type of silicone for this cuvette; you want the plain clear/translucent kind that smells like vinegar as it cures. Cyanoacrylate and epoxy adhesives are not very good for this, btw, because they are attacked by various solvents, including things like isopropyl alcohol. Unless you have something else that is immune to alcohols and other common solvents, “RTV” [Room-Temperature Vulcanizing] silicone rubber is about the only reliable glue, even though it doesn’t stick well to glass.
[Note, added 02 February, 2013: I have another design, smaller and (I think) better, which I developed during 2012. I have added some information about it at the end of the page.]
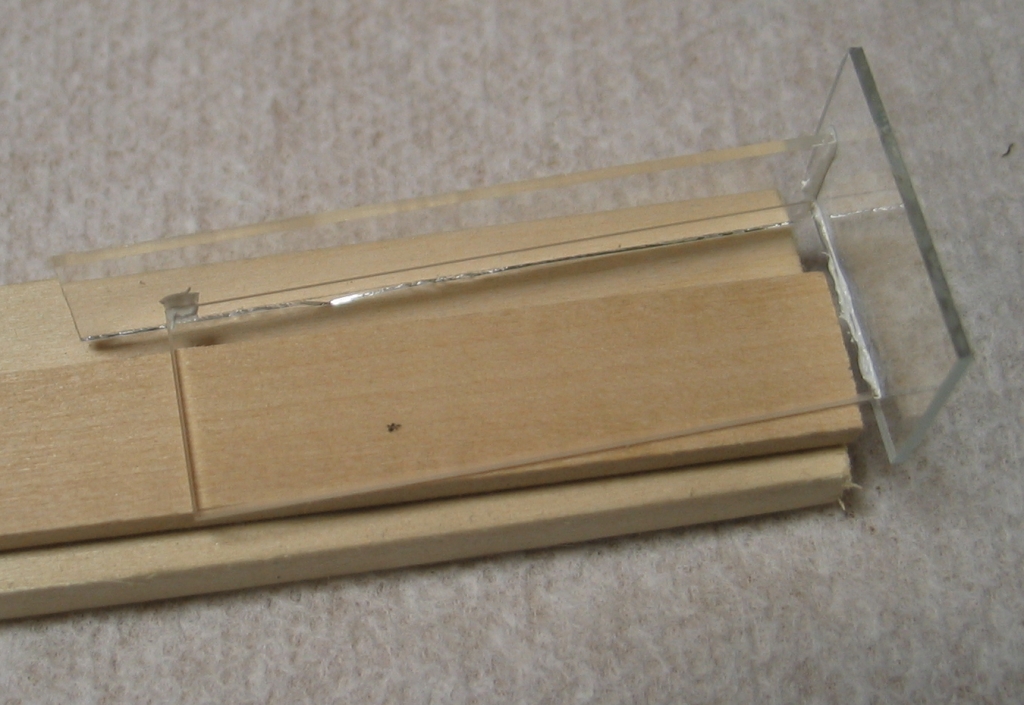
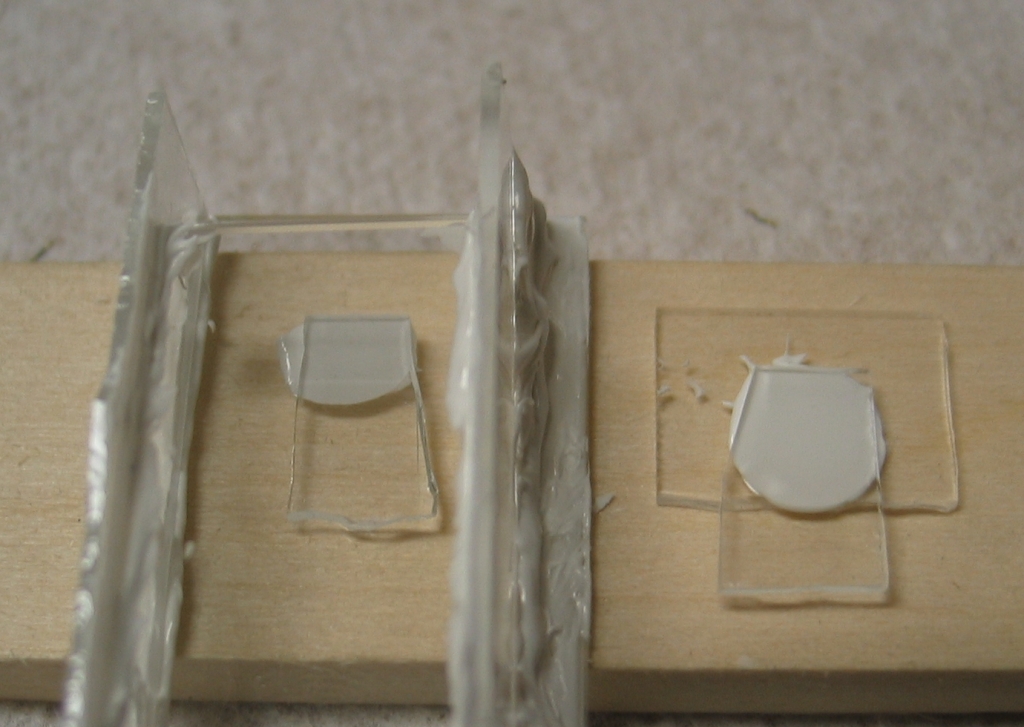
Here are the pieces, with the Brewster window newly attached to the baseplate:
I applied the RTV caulk with the end of a toothpick. You want to use enough to achieve a seal, but you don’t want to glop it on.
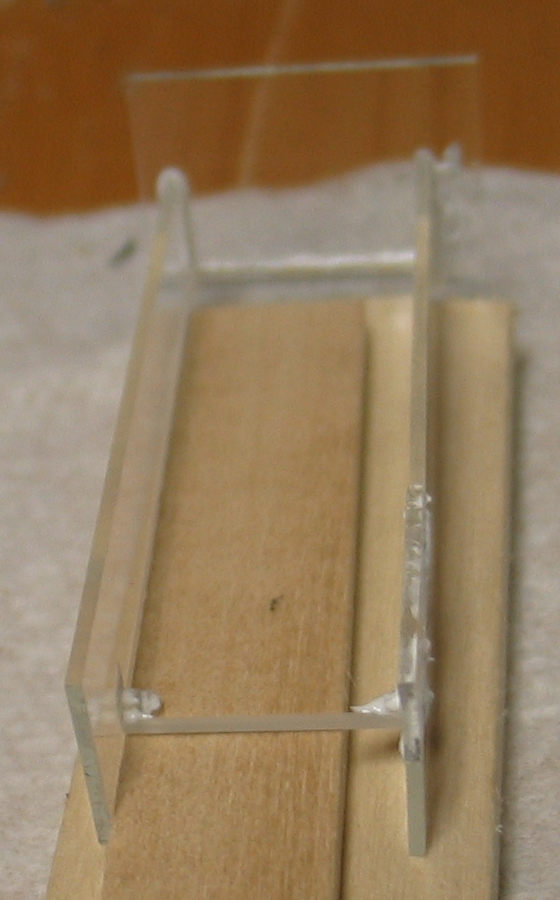
Here I have attached the first wall at base and top. Remember: because the excited region of the dye solution is just behind the front window, you do not want to obscure that region of the side windows. Do NOT glue the side windows onto the front window the same way you glue them to the back or to the baseplate. The front window needs to go between the side windows, not in front of them.
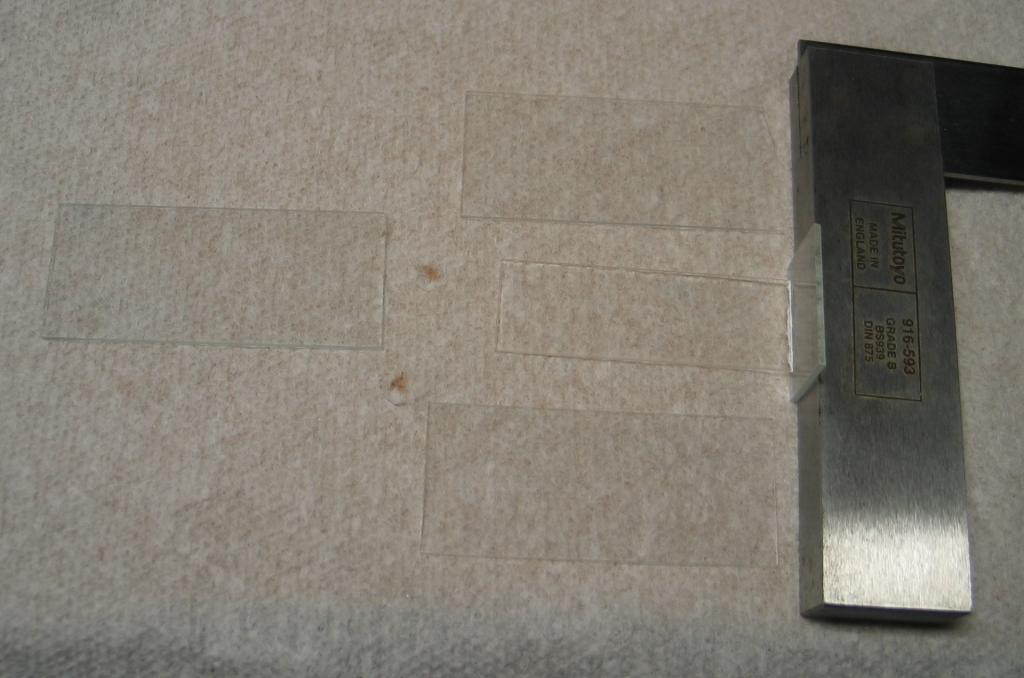
Another important point: even though the dye laser pulse lasts only 10 nsec or so, the light makes a number of transits through the cuvette. This means that if you can get extra pieces of fused silica, particularly if they are known to be flat, it is a very good idea to make the side windows from them. (In fact, the side windows may be even more important than the front window.) I used pieces of a water-clear microscope slide, which is made of a good grade of glass.
Here is a view of the inside of the cuvette, with both side windows tacked into place. You can see that I have angled them slightly away from each other, so that they cannot serve as mirrors for the dye. (This is a matter of choice; but if you want them to serve as mirrors, you should align them as precisely as possible, using either a laser or some other arrangement. Also, see the redesign at the bottom of the page.) Remember, if you are angling the windows this way, the front of the cuvette should be narrower than the back, not wider. Otherwise the light may be able to reflect from the side windows by bouncing off the inside of the front window.
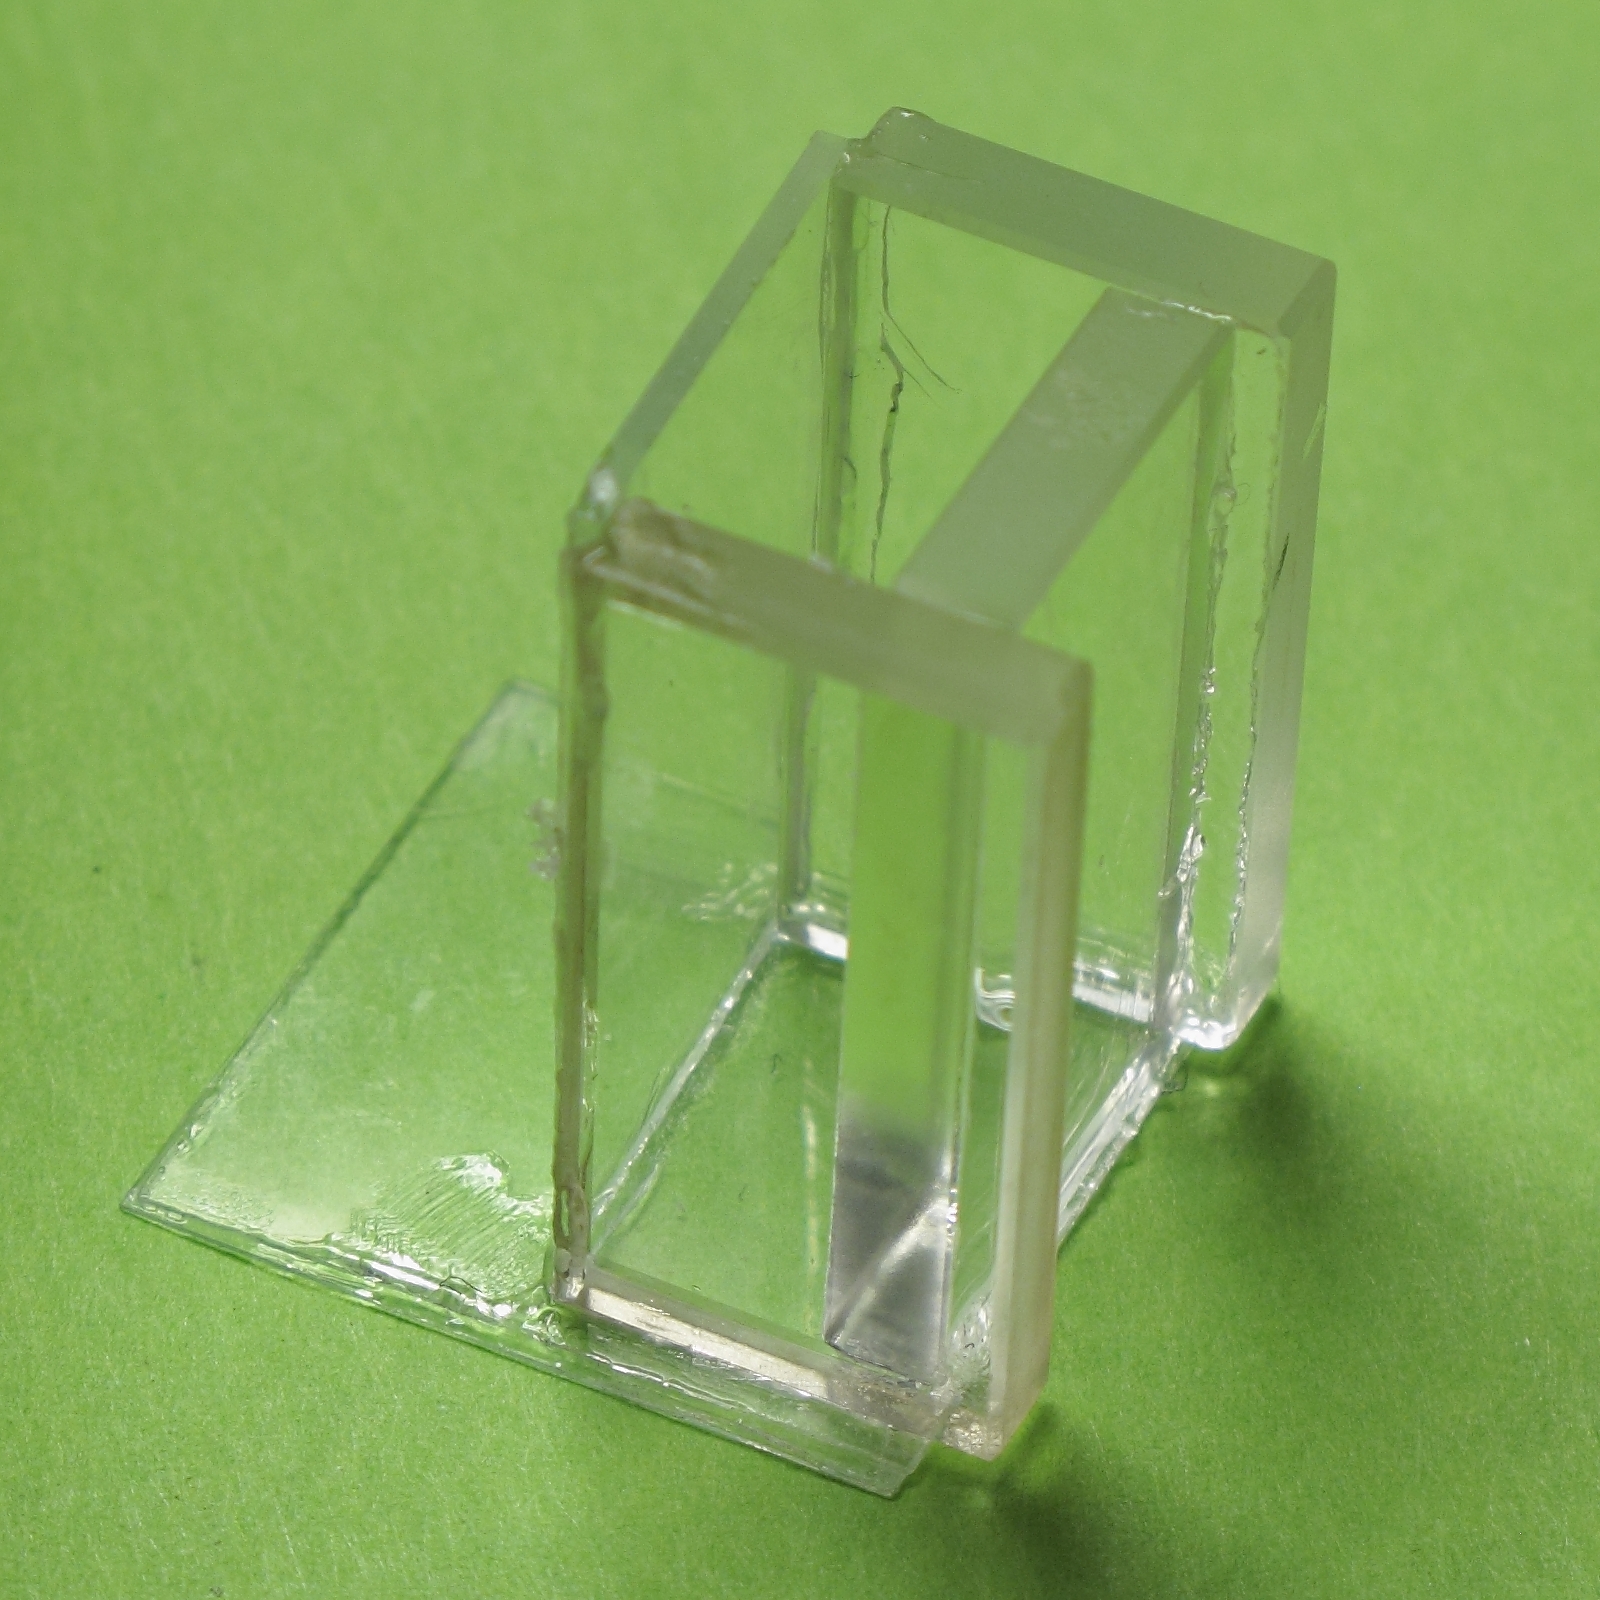
Here are two views of the nearly-completed cuvette. Notice the seams, particularly those on the front window, where the RTV is only on the outside.
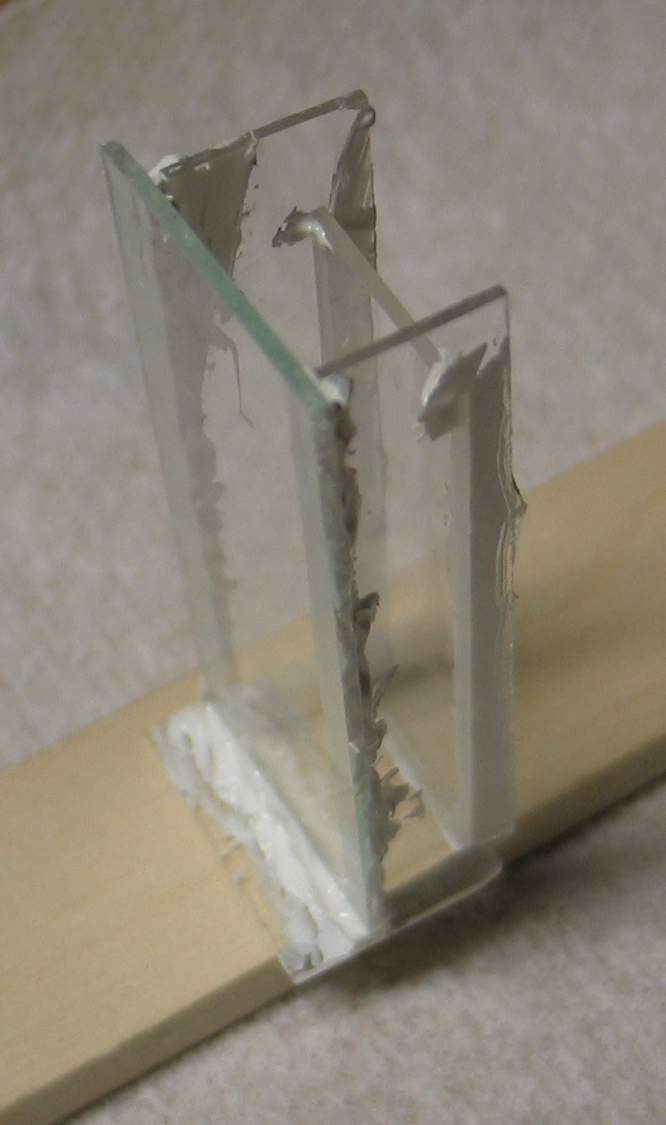
You can also see that I broke one of the side windows in the process of cutting it to size (upper left corner of the first photo, upper right corner of the second one). As long as the break does not occur in the region the light has to pass through, it is not very important, and you can just use RTV to put the piece back on. If there is more than one break, however, it may begin to interfere with the integrity of the structure, and you could be better off making a new window if you have enough of the really clear glass (or fused silica).
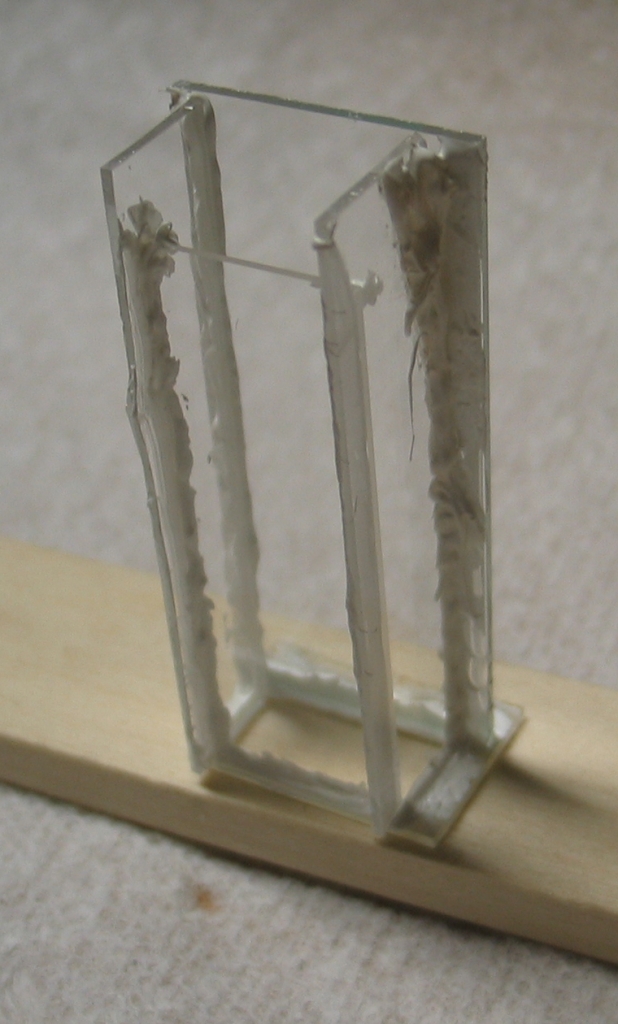
Here is a view of the internal shelf I added, for the lid to rest on, and the lid itself. These are made from scraps:
I was careful to smooth the edges of the little handle so I won’t cut myself on them. (1500 grit sandpaper from an auto supply place works reasonably well for this, though it is fairly slow.)
In retrospect, I should have made the shelf smaller, and allowed the RTV to go under all of it, so the dye solution does not get into the small space between the shelf and the rear wall.
Note that this lid does not seal the cuvette. The solvent will evaporate, and the dye can spill. Eventually, I may come up with an easy design for a lid that seals, but for now I just wanted a cuvette. The photo at the top of this page shows the completed cuvette.
Here is the cuvette filled with dye solution, so you can see that it doesn’t leak. Cherish this moment; RTV does not stick to glass all that well, and even normal handling will probably cause the cuvette to start leaking fairly soon.
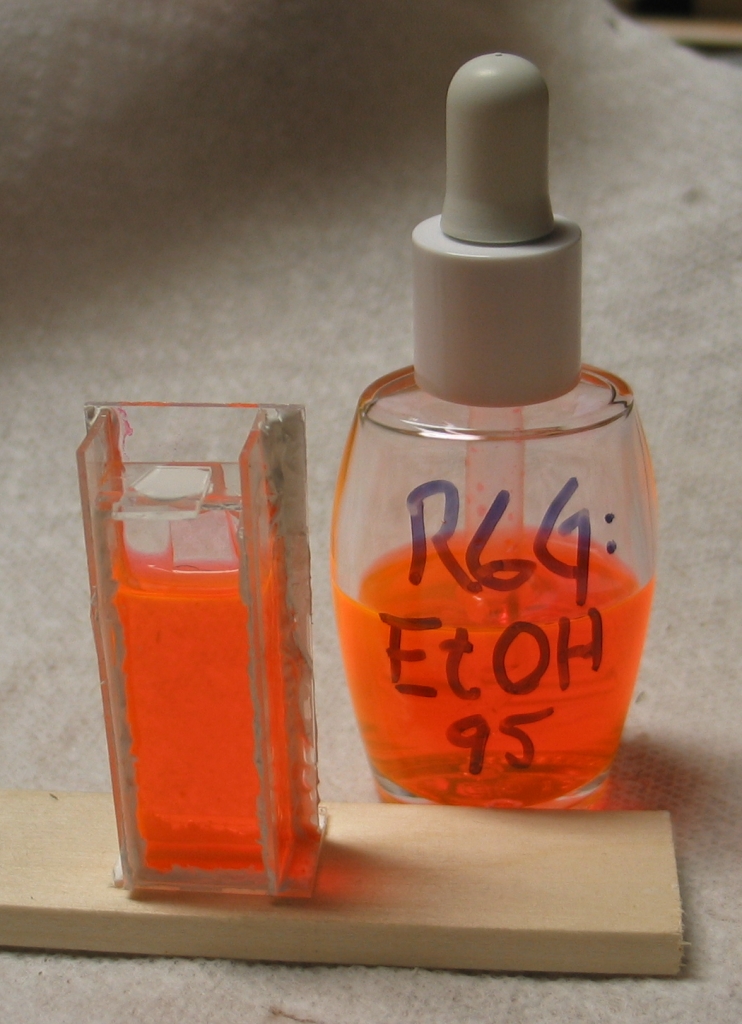
(The dye solution is roughly the correct concentration for nitrogen pumping, though it could probably be diluted a little and still work, especially with a relatively powerful pump laser.)
Here is the focused output of a nitrogen laser pumping this cuvette to superfluorescence. The dye is Rhodamine 6G, but it is a different (and slightly more dilute) solution.
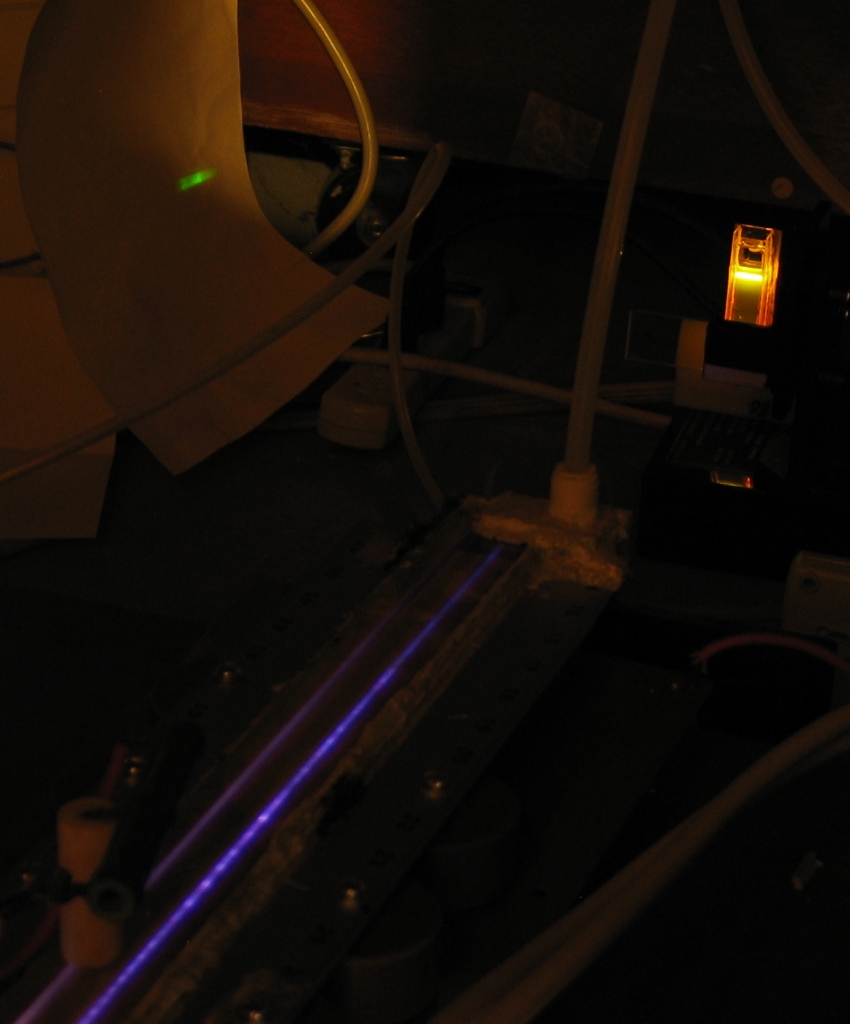
The output is the greenish stripe at the upper left, on
the piece of paper. The nitrogen laser is in the
foreground, and you can see parts of the discharge in
it.
Many organic dyes, including most laser dyes, are
toxic. You should wear latex or non-latex rubber
gloves when you handle dyes or their solutions.
It is even a good idea to wear a HEPA filter mask
when you are mixing solutions, so you won’t
inhale any dust that may arise.
[Added 22 September, 2013]
I noticed some silica windows on eBay that appeared to be appropriate for building cuvettes: 1/8" [3.25 mm] thick, with square-cut edges. My initial design used 3 of these, one for the front window and two for the sides:
I used a piece of microscope slide (bottom of the photo) for the back side, and because the channel of my usual TEA nitrogen laser design is only a millimeter or so above the ground plane, I used two microscope cover slips for the base. This proves to be suboptimal because they are extremely thin, and very easy to break. Still, it was an interesting thing to try. Here is a view of the completed cuvette:
I soon decided that it was pointless and overly
expensive to use three of these windows; pieces
of microscope slide work quite well as sides. I
built another cuvette, which worked well. For
photos, please see
Broadside #6
on my current research site.
A page about inexpensive dyes for DIY use
A page showing a nitrogen-pumped dye laser, tuned with a prism (I have also used a grating, though, and I think I prefer that).
A page about 4-Methyl-Umbelliferone, a dye that has a very broad tuning range under some conditions.
A Do-It-Yourselfer’s nitrogen laser.
A page about a flashlamp-pumped dye laser.
Email: a@b.com, where my first name (just three letters, no “H”) replaces the a, and “joss” replaces the b.
My phone number is +1 240 604 4495.
Last modified: Thu Jun 23 15:47:39 CDT 2016